Garden Herb Flatbread: Discover the Secret Recipe!
Introduction to Garden Herb Flatbread
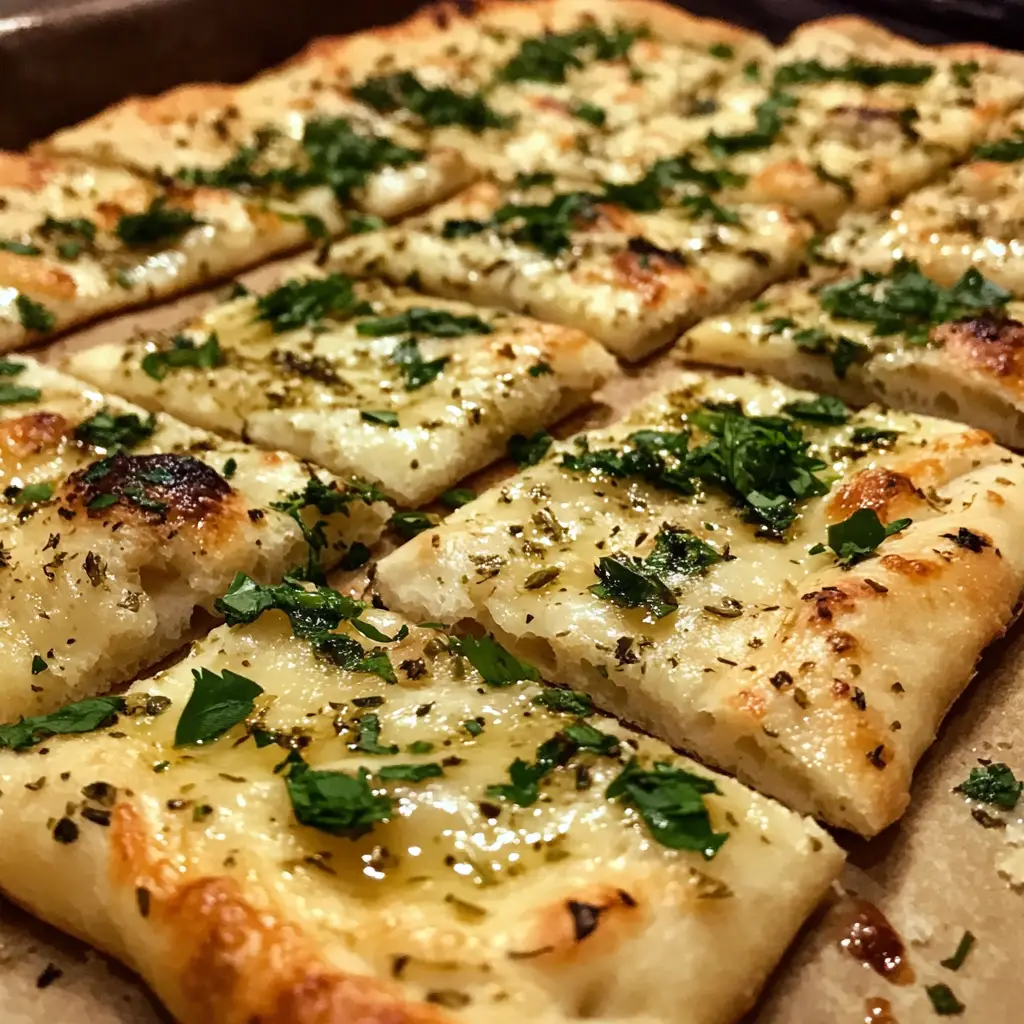
As a busy mom, I know how precious time can be, especially when it comes to meal prep. That’s why I absolutely adore this Garden Herb Flatbread! It’s not just a quick solution for a hectic day; it’s also a delightful way to impress your loved ones. Imagine the aroma of fresh herbs wafting through your kitchen, inviting everyone to gather around the table. This flatbread is versatile, perfect for dipping or as a side to your favorite dishes. Trust me, once you try it, you’ll want to make it a regular in your home!
Why You’ll Love This Garden Herb Flatbread
This Garden Herb Flatbread is a game-changer for busy days. It’s incredibly easy to whip up, taking just 35 minutes from start to finish. The taste? Oh, it’s a delightful blend of fresh herbs that elevates any meal. Plus, it’s a fantastic way to sneak in some greens for picky eaters. Whether you’re serving it with dips or alongside dinner, it’s sure to become a family favorite!
Ingredients for Garden Herb Flatbread
Gathering the right ingredients is the first step to creating your delicious Garden Herb Flatbread. Here’s what you’ll need:
- All-purpose flour: This is the base of your flatbread, providing structure and a soft texture. You can substitute with whole wheat flour for a healthier option.
- Baking powder: This leavening agent helps the flatbread rise, giving it a light and fluffy texture. Make sure it’s fresh for the best results.
- Salt: A pinch of salt enhances the flavors of the herbs and other ingredients. It’s essential for balancing the taste.
- Olive oil: This adds richness and moisture to the dough. You can use other oils, like avocado or melted butter, if you prefer.
- Water: The key to bringing the dough together. Use warm water to help activate the baking powder.
- Mixed fresh herbs: This is where the magic happens! Fresh basil, parsley, and thyme create a fragrant and flavorful flatbread. Feel free to experiment with your favorite herbs or even dried ones in a pinch.
For exact measurements, check the bottom of the article where you can find everything listed for easy printing. Happy cooking!
How to Make Garden Herb Flatbread
Now that you have your ingredients ready, let’s dive into the fun part—making your Garden Herb Flatbread! Follow these simple steps, and you’ll have a delicious, aromatic flatbread in no time.
Step 1: Preheat the Oven
First things first, preheat your oven to 400°F (200°C). Preheating is crucial because it ensures that your flatbread bakes evenly. A hot oven helps achieve that golden-brown crust we all love. So, don’t skip this step!
Step 2: Mix Dry Ingredients
In a large bowl, combine the all-purpose flour, baking powder, and salt. Whisk them together until they’re well mixed. This step is important because it ensures that the baking powder is evenly distributed, which helps your flatbread rise beautifully.
Step 3: Add Wet Ingredients
Next, add the olive oil and water to your dry mixture. The olive oil adds richness, while the water brings everything together into a dough. Stir until the mixture forms a shaggy dough. It should be slightly sticky but manageable.
Step 4: Knead the Dough
Now, it’s time to knead! Dust your countertop with a little flour and turn the dough out onto it. Knead the dough for about 5 minutes. This helps develop the gluten, giving your flatbread a nice texture. If the dough is too sticky, sprinkle a bit more flour as you knead.
Step 5: Incorporate Fresh Herbs
Once your dough is smooth, it’s time to add the fresh herbs. Gently flatten the dough and sprinkle the mixed herbs on top. Fold the dough over and knead it a few more times until the herbs are evenly distributed. This is where the magic happens—those herbs will infuse your flatbread with incredible flavor!
Step 6: Roll Out the Dough
Now, roll out the dough to your desired thickness. I usually aim for about 1/4 inch thick. If you like a chewier flatbread, go a bit thicker. Dust your rolling pin and surface with flour to prevent sticking. Don’t worry about making it perfectly round; rustic shapes add charm!
Step 7: Bake the Flatbread
Place your rolled-out flatbread on a baking sheet lined with parchment paper. Bake it in the preheated oven for 15-20 minutes. Keep an eye on it! You’ll know it’s done when it’s golden brown and has a lovely aroma wafting through your kitchen.
Step 8: Cool and Serve
Once baked, remove the flatbread from the oven and let it cool slightly on a wire rack. This step is important because it allows the steam to escape, preventing sogginess. Serve it warm for the best flavor, and watch it disappear!
Tips for Success
- Use fresh herbs for the best flavor; dried herbs can work in a pinch.
- Don’t over-knead the dough; just enough to combine everything well.
- Experiment with different herb combinations to find your favorite blend.
- For a crispy crust, place a baking stone in the oven while preheating.
- Store leftover flatbread in an airtight container to keep it fresh.
Equipment Needed
- Mixing bowl: A large bowl for combining ingredients. A sturdy pot can work too.
- Rolling pin: Essential for rolling out the dough. A wine bottle can serve as a fun alternative!
- Baking sheet: A flat surface for baking. You can use a pizza stone for a crispier result.
- Parchment paper: Helps prevent sticking. If you don’t have any, lightly greasing the baking sheet works.
Variations of Garden Herb Flatbread
- Cheesy Herb Flatbread: Add shredded mozzarella or feta cheese to the dough for a cheesy twist that melts beautifully.
- Spicy Flatbread: Incorporate red pepper flakes or chopped jalapeños into the dough for a kick of heat.
- Gluten-Free Option: Substitute all-purpose flour with a gluten-free flour blend to make this flatbread suitable for gluten-sensitive diets.
- Sweet Herb Flatbread: Mix in a tablespoon of honey and a pinch of cinnamon for a sweet version that pairs well with fruit dips.
- Herb and Garlic Flatbread: Add minced garlic to the dough for an aromatic flavor that complements any meal.
Serving Suggestions for Garden Herb Flatbread
- Pair with a creamy hummus or tzatziki for a delightful dip.
- Serve alongside a fresh salad for a light, healthy meal.
- Top with roasted vegetables and a sprinkle of cheese for a hearty snack.
- Enjoy with a glass of crisp white wine for a perfect evening treat.
- Present on a wooden board for a rustic, inviting look.
FAQs about Garden Herb Flatbread
Can I use dried herbs instead of fresh herbs?
Absolutely! While fresh herbs provide a vibrant flavor, dried herbs can work in a pinch. Just remember that dried herbs are more concentrated, so use about one-third of the amount you would use for fresh herbs.
How do I store leftover Garden Herb Flatbread?
To keep your flatbread fresh, store it in an airtight container at room temperature for up to three days. If you want to keep it longer, consider freezing it. Just wrap it tightly in plastic wrap and place it in a freezer bag.
Can I make Garden Herb Flatbread ahead of time?
Yes! You can prepare the dough in advance and refrigerate it for up to 24 hours. Just let it come to room temperature before rolling it out and baking. This is a great time-saver for busy days!
What can I serve with Garden Herb Flatbread?
This flatbread pairs wonderfully with dips like hummus or tzatziki. You can also serve it alongside soups, salads, or as a base for mini pizzas. The possibilities are endless!
Is this flatbread suitable for a vegetarian diet?
Yes, this Garden Herb Flatbread is completely vegetarian! It’s a fantastic option for anyone looking to enjoy a delicious, herb-infused bread without any animal products.
Final Thoughts
Making Garden Herb Flatbread is more than just a cooking task; it’s a joyful experience that brings the family together. The aroma of fresh herbs fills your kitchen, creating a warm and inviting atmosphere. Each bite is a delightful reminder of the simple pleasures in life. Whether you’re enjoying it with dips or as a side to your favorite meal, this flatbread is sure to impress. Plus, it’s a fantastic way to get creative in the kitchen! I hope this recipe becomes a cherished part of your family meals, just as it has in mine.
Print
Garden Herb Flatbread: Discover the Secret Recipe!
- Total Time: 35 minutes
- Yield: 4 flatbreads 1x
- Diet: Vegetarian
Description
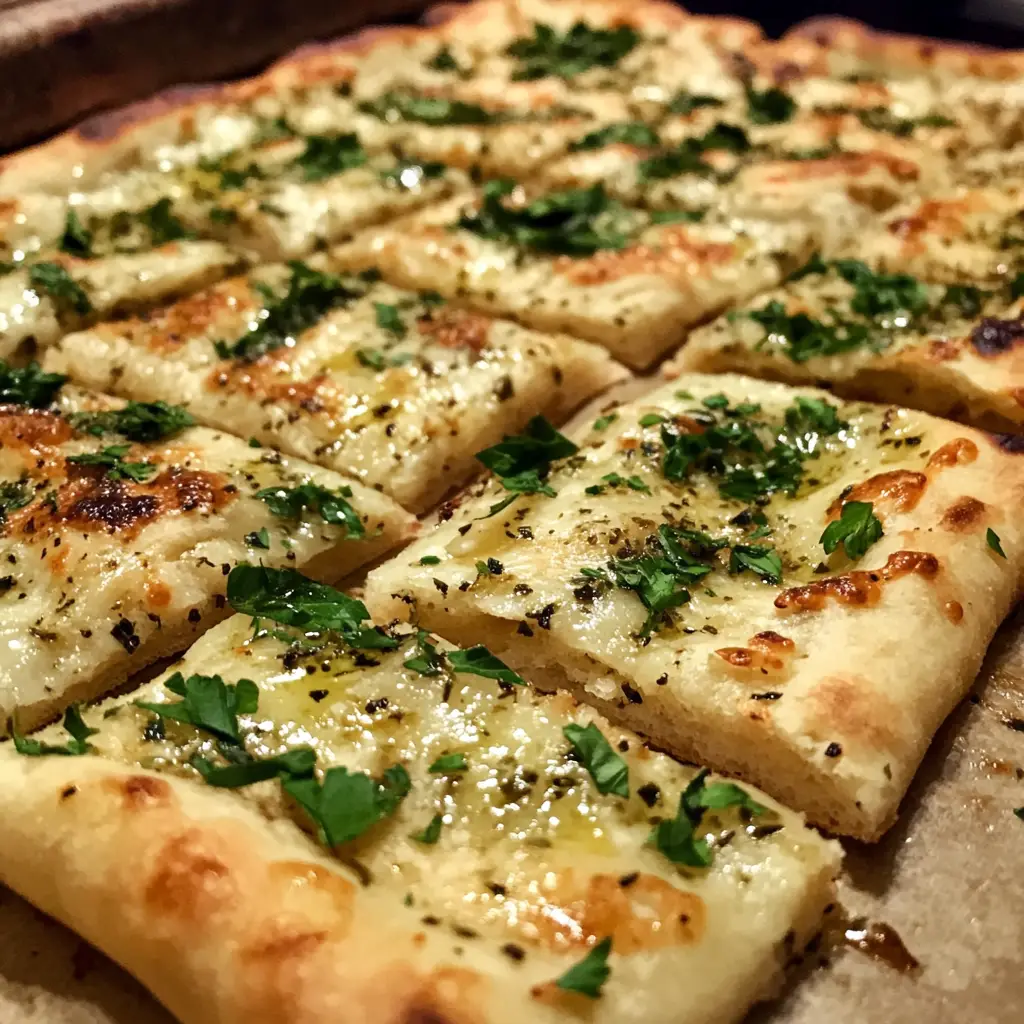
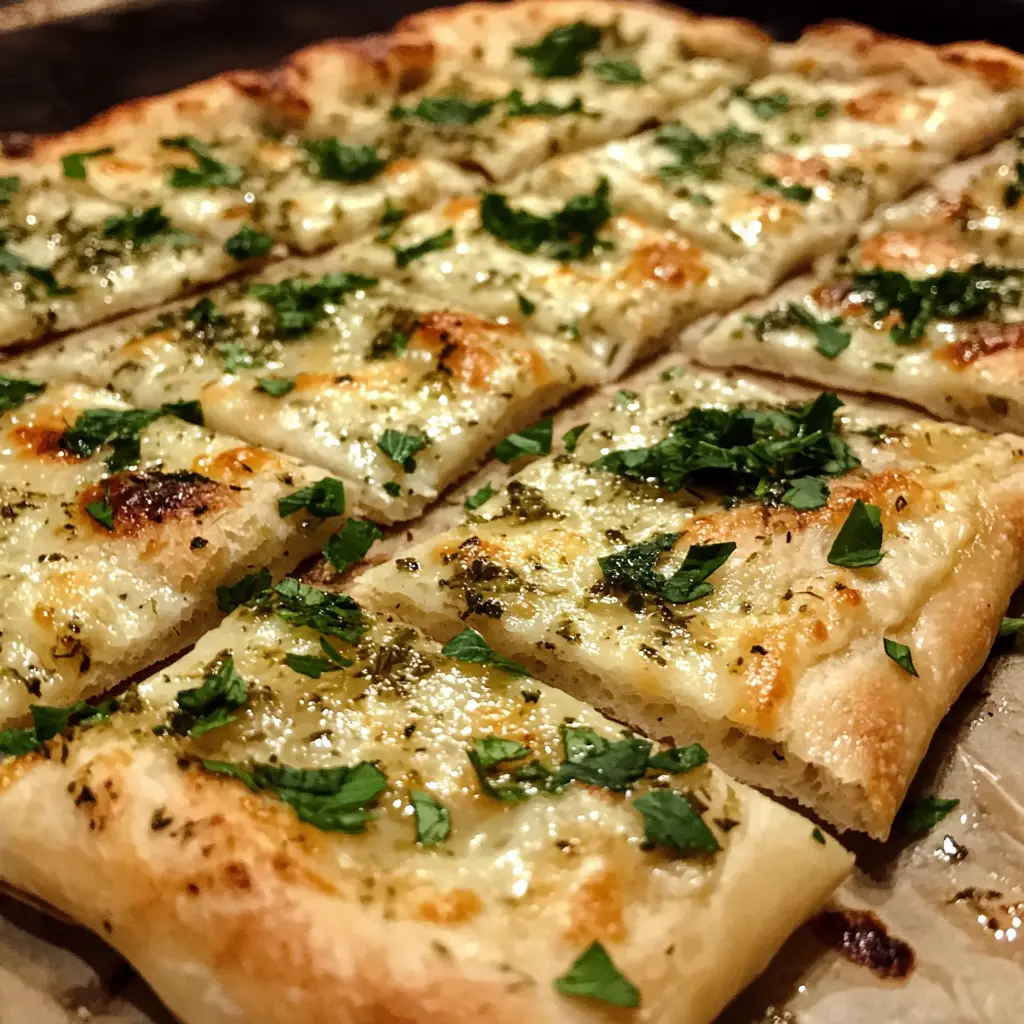
A delicious and aromatic flatbread infused with a variety of garden herbs, perfect for serving with dips or as a side to your favorite dishes.
Ingredients
- 2 cups all-purpose flour
- 1 tablespoon baking powder
- 1 teaspoon salt
- 1 tablespoon olive oil
- 3/4 cup water
- 1/4 cup mixed fresh herbs (such as basil, parsley, and thyme)
Instructions
- Preheat your oven to 400°F (200°C).
- In a large bowl, mix the flour, baking powder, and salt.
- Add the olive oil and water, and stir until a dough forms.
- Knead the dough on a floured surface for about 5 minutes.
- Incorporate the fresh herbs into the dough.
- Roll out the dough to your desired thickness.
- Place the flatbread on a baking sheet and bake for 15-20 minutes or until golden brown.
- Remove from the oven and let cool slightly before serving.
Notes
- Feel free to experiment with different herbs based on your preference.
- This flatbread can be stored in an airtight container for up to 3 days.
- Serve warm for the best flavor.
- Prep Time: 15 minutes
- Cook Time: 20 minutes
- Category: Bread
- Method: Baking
- Cuisine: Mediterranean
Nutrition
- Serving Size: 1 flatbread
- Calories: 150
- Sugar: 0g
- Sodium: 200mg
- Fat: 5g
- Saturated Fat: 0.5g
- Unsaturated Fat: 4.5g
- Trans Fat: 0g
- Carbohydrates: 22g
- Fiber: 1g
- Protein: 4g
- Cholesterol: 0mg
Keywords: Garden Herb Flatbread, flatbread recipe, herb bread, Mediterranean bread