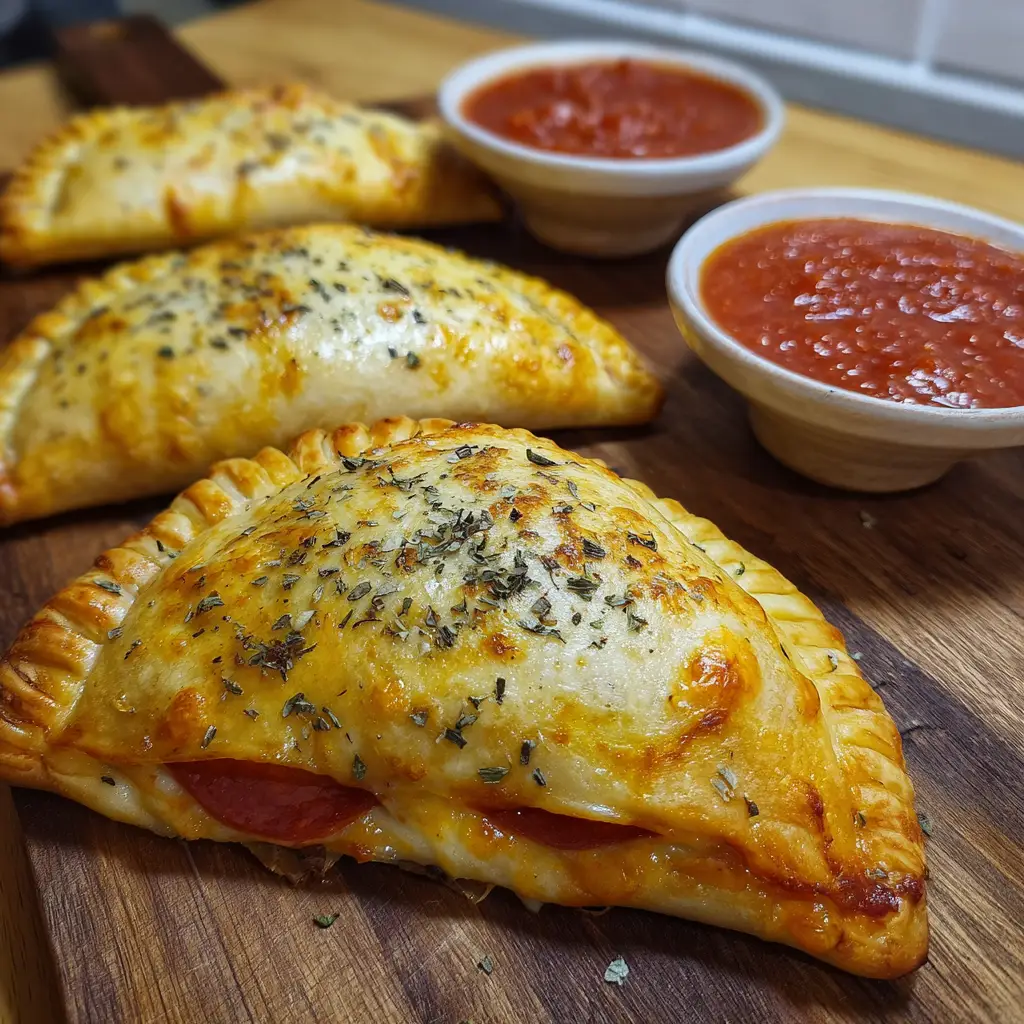
Homemade Easy Cheesy Pizza Pockets: The Ultimate Tasty Snack!
Introduction to Cheesy Pizza Pockets
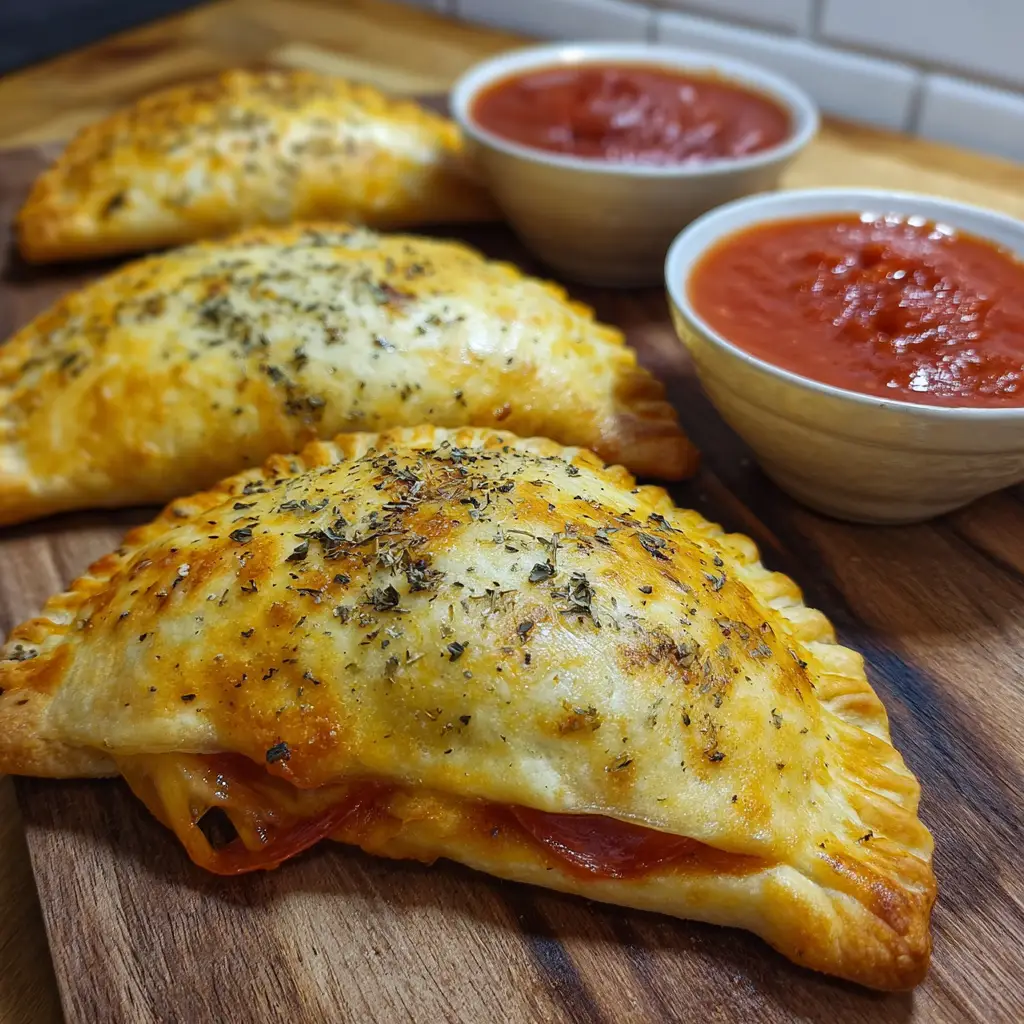
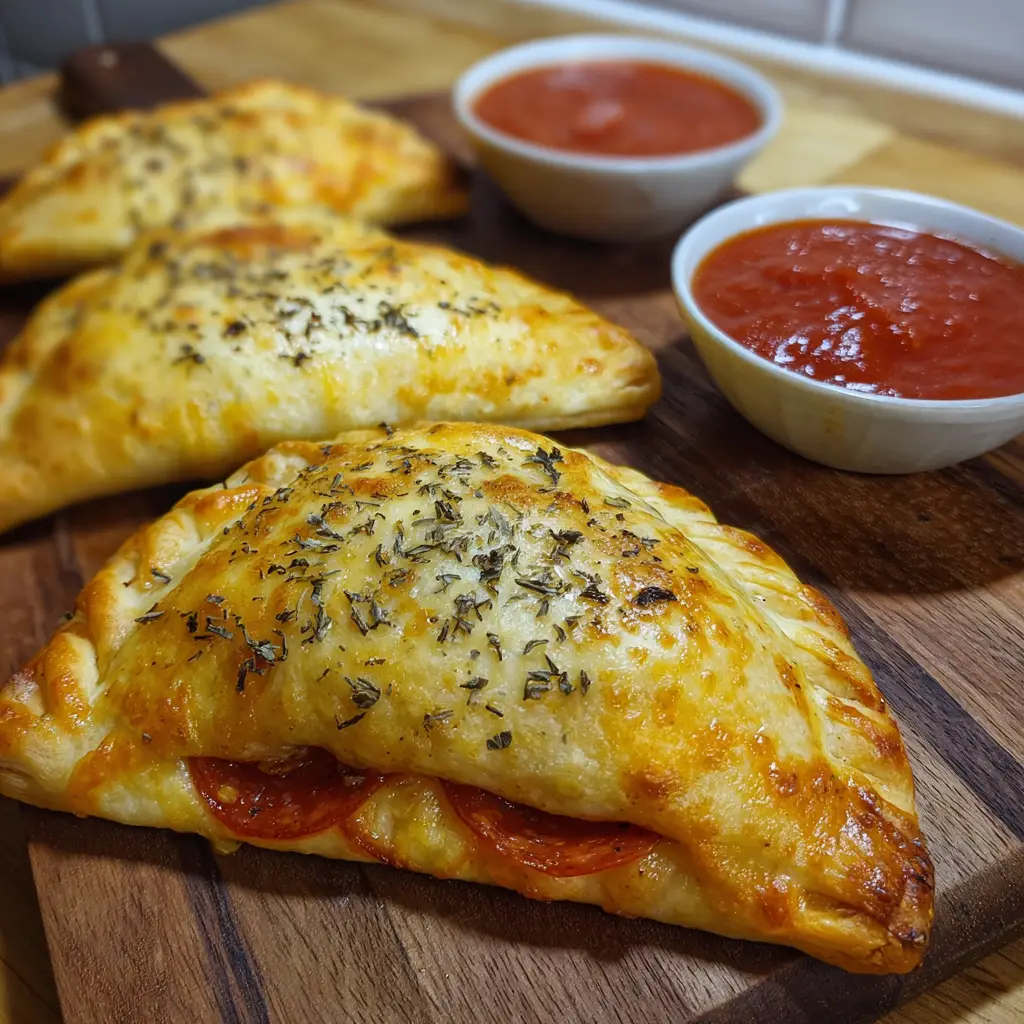
As a busy mom, I know how challenging it can be to whip up something delicious that everyone will love. That’s where my Cheesy Pizza Pockets come in! These delightful handheld snacks are not only quick to make but also packed with gooey cheese and savory toppings that will make your family cheer. Whether it’s a hectic weeknight or a fun weekend gathering, these pizza pockets are the perfect solution. They’re easy to customize, making them a hit with even the pickiest eaters. Trust me, once you try them, they’ll become a staple in your kitchen!
Why You’ll Love This Cheesy Pizza Pockets
These Cheesy Pizza Pockets are a lifesaver for busy days! They come together in just 35 minutes, making them a quick and satisfying snack. The best part? You can fill them with your family’s favorite toppings, ensuring everyone is happy. Plus, they’re perfect for meal prep, so you can have delicious snacks ready whenever hunger strikes. Trust me, once you make these, you’ll wonder how you ever lived without them!
Ingredients for Cheesy Pizza Pockets
Gathering the right ingredients is the first step to creating these delightful Cheesy Pizza Pockets. Here’s what you’ll need:
- Pizza Dough: The base of your pockets. You can use store-bought or homemade dough for convenience.
- Shredded Mozzarella Cheese: This gooey cheese melts beautifully, creating that irresistible cheesy goodness.
- Pepperoni Slices: A classic pizza topping that adds a savory kick. Feel free to swap it out for veggies or other meats!
- Pizza Sauce: A spoonful in each pocket brings that authentic pizza flavor. You can use store-bought or homemade sauce.
- Egg (for egg wash): This gives your pockets a beautiful golden color when baked. You can also use milk as a substitute.
- Italian Seasoning: A sprinkle on top enhances the flavor, but you can use your favorite herbs like oregano or basil instead.
For exact measurements, check the bottom of the article where you can find everything listed for easy printing. Remember, the beauty of these pockets is in their versatility, so don’t hesitate to get creative with your fillings!
How to Make Cheesy Pizza Pockets
Making Cheesy Pizza Pockets is a fun and straightforward process. Follow these simple steps, and you’ll have delicious snacks ready in no time!
Step 1: Preheat the Oven
Start by preheating your oven to 400°F (200°C). Preheating is crucial because it ensures even cooking. You want those pockets to bake perfectly, turning golden brown and crispy on the outside while remaining gooey inside.
Step 2: Prepare the Dough
Next, roll out your pizza dough on a floured surface. This prevents sticking and makes it easier to work with. Aim for a thickness of about 1/8 inch. A well-prepared dough is the foundation of your tasty pockets!
Step 3: Cut the Dough
Using a cookie cutter or a glass, cut the dough into circles. Aim for about 4 inches in diameter. This size is perfect for holding all your delicious fillings. Make sure to cut them evenly for consistent baking!
Step 4: Add the Sauce
Place a spoonful of pizza sauce in the center of each circle. Be careful not to overfill, as this can lead to messy pockets. A tablespoon is usually just the right amount to keep things neat and tasty!
Step 5: Fill with Cheese and Toppings
Layer shredded mozzarella cheese and pepperoni on top of the sauce. Feel free to get creative! You can add veggies, cooked sausage, or even olives. The more, the merrier when it comes to flavor!
Step 6: Seal the Pockets
Fold the dough over to create a pocket and seal the edges with a fork. Press down firmly to ensure no filling escapes during baking. A good seal is key to keeping all that cheesy goodness inside!
Step 7: Egg Wash and Seasoning
Brush the tops of the pockets with a beaten egg. This gives them a beautiful golden color when baked. Sprinkle Italian seasoning on top for an extra flavor boost. It’s like a little hug of flavor!
Step 8: Bake the Pockets
Place the pockets in the preheated oven and bake for 15-20 minutes. Keep an eye on them! They’re done when they’re golden brown and puffed up. A little patience goes a long way here!
Step 9: Cool and Serve
Once baked, let the pockets cool slightly before serving. This helps the cheese set a bit, making them easier to eat. Trust me, waiting just a few minutes is worth it for that perfect bite!
Tips for Success
- Use a rolling pin to ensure even thickness when rolling out the dough.
- Experiment with different fillings like mushrooms, bell peppers, or even spinach for a twist.
- Make sure to seal the edges well to prevent leaks during baking.
- For extra flavor, try adding garlic powder to the dough before rolling it out.
- Serve with a side of marinara sauce for dipping—it’s a game changer!
Equipment Needed
- Rolling Pin: Essential for rolling out the dough. A wine bottle can work in a pinch!
- Cookie Cutter or Glass: For cutting dough circles. Any round object will do!
- Baking Sheet: A must for baking your pockets. Line it with parchment paper for easy cleanup.
- Fork: To seal the pockets. You can also use your fingers if you prefer!
Variations
- Veggie Delight: Swap out pepperoni for a mix of your favorite vegetables like bell peppers, mushrooms, and spinach for a fresh twist.
- Cheesy Spinach: Add ricotta cheese and fresh spinach for a creamy, nutritious filling that’s sure to please.
- BBQ Chicken: Use shredded cooked chicken and BBQ sauce instead of pizza sauce for a smoky flavor.
- Buffalo Style: Mix shredded chicken with buffalo sauce and blue cheese for a spicy kick!
- Gluten-Free Option: Use gluten-free pizza dough to make these pockets suitable for those with dietary restrictions.
Serving Suggestions
- Pair your Cheesy Pizza Pockets with a fresh garden salad for a balanced meal.
- Serve with a side of marinara or ranch dressing for dipping—it’s a crowd-pleaser!
- For drinks, consider sparkling water with lemon or a light iced tea.
- Present them on a colorful platter for a fun, inviting look.
FAQs about Cheesy Pizza Pockets
As you dive into making these Cheesy Pizza Pockets, you might have a few questions. Here are some common queries I’ve encountered, along with helpful answers!
Can I make Cheesy Pizza Pockets ahead of time?
Absolutely! You can prepare them in advance and freeze them. Just bake them straight from the freezer, adding a few extra minutes to the baking time.
What other fillings can I use?
The beauty of Cheesy Pizza Pockets is their versatility! You can use any toppings you love, like cooked sausage, mushrooms, or even a mix of cheeses. Get creative!
How do I store leftovers?
Store any leftover pockets in an airtight container in the fridge for up to three days. Reheat them in the oven for the best texture!
Can I use whole wheat dough?
Yes! Whole wheat dough is a great alternative for a healthier option. It adds a nutty flavor and extra fiber to your Cheesy Pizza Pockets.
What can I serve with Cheesy Pizza Pockets?
These pockets pair wonderfully with a side of marinara sauce for dipping. A fresh salad or some crunchy veggies make great accompaniments too!
Final Thoughts
Making Cheesy Pizza Pockets is more than just cooking; it’s about creating joyful moments in the kitchen. The aroma of baking dough and melting cheese fills the air, bringing smiles to my family’s faces. These pockets are perfect for busy days, spontaneous gatherings, or cozy movie nights. They’re a canvas for creativity, allowing you to experiment with flavors and fillings. Plus, they’re a fantastic way to involve your kids in the kitchen! I hope you find as much joy in making and sharing these delightful snacks as I do. Happy cooking!
Print
Cheesy Pizza Pockets: The Ultimate Tasty Snack!
- Total Time: 35 minutes
- Yield: 12 pizza pockets 1x
- Diet: Vegetarian
Description
Cheesy Pizza Pockets are delicious, handheld snacks filled with gooey cheese and savory pizza toppings, perfect for any occasion.
Ingredients
- 1 package of pizza dough
- 1 cup shredded mozzarella cheese
- 1/2 cup pepperoni slices
- 1/4 cup pizza sauce
- 1 egg (for egg wash)
- 1 teaspoon Italian seasoning
Instructions
- Preheat the oven to 400°F (200°C).
- Roll out the pizza dough on a floured surface.
- Cut the dough into circles using a cookie cutter or a glass.
- Place a spoonful of pizza sauce in the center of each circle.
- Add mozzarella cheese and pepperoni on top of the sauce.
- Fold the dough over to create a pocket and seal the edges with a fork.
- Brush the tops with beaten egg and sprinkle with Italian seasoning.
- Bake in the preheated oven for 15-20 minutes or until golden brown.
- Let cool slightly before serving.
Notes
- Feel free to customize the filling with your favorite pizza toppings.
- These can be made ahead of time and frozen for later use.
- Serve with extra pizza sauce for dipping.
- Prep Time: 15 minutes
- Cook Time: 20 minutes
- Category: Snack
- Method: Baking
- Cuisine: Italian
Nutrition
- Serving Size: 1 pizza pocket
- Calories: 200
- Sugar: 1g
- Sodium: 300mg
- Fat: 10g
- Saturated Fat: 4g
- Unsaturated Fat: 5g
- Trans Fat: 0g
- Carbohydrates: 22g
- Fiber: 1g
- Protein: 8g
- Cholesterol: 30mg
Keywords: Cheesy Pizza Pockets, Snack, Pizza, Easy Recipe