Cheese Puffs: Discover the Crunchy Snack Everyone Loves!
Introduction to Cheese Puffs
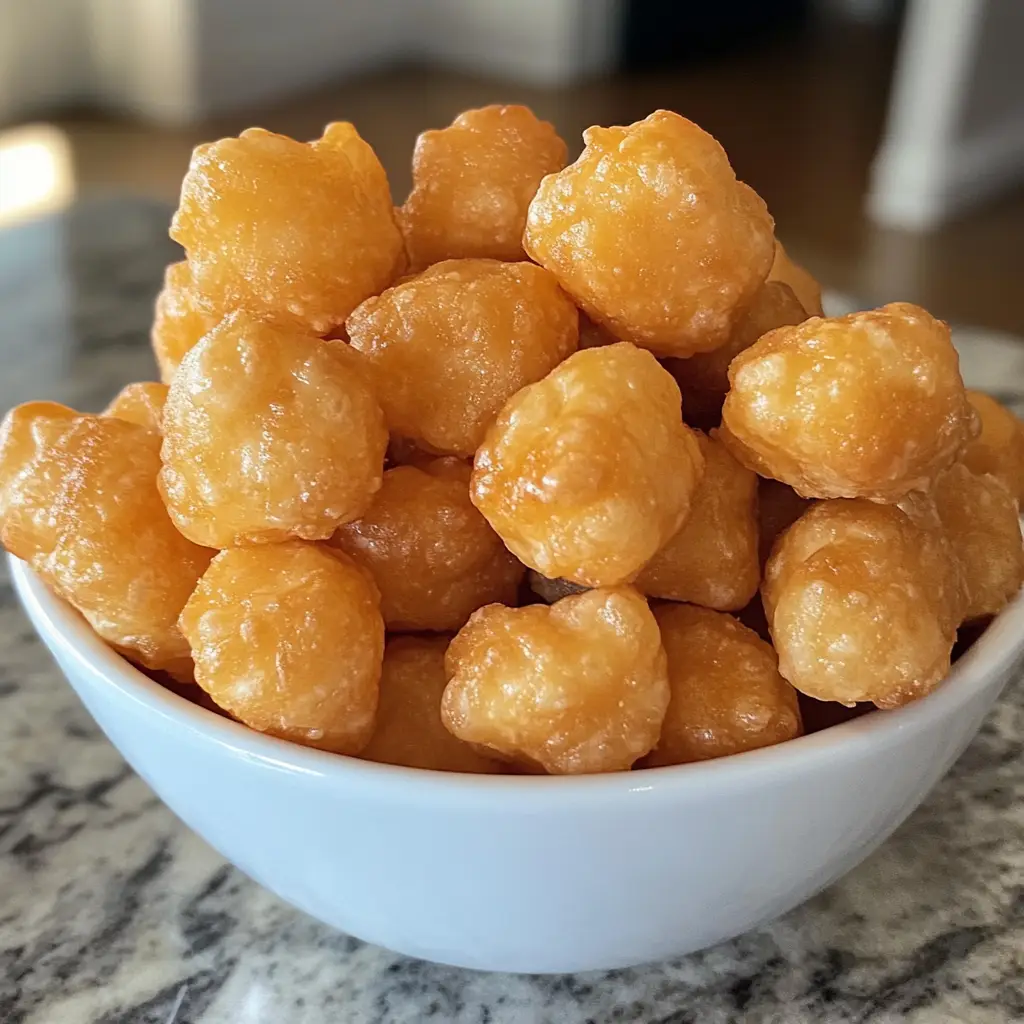
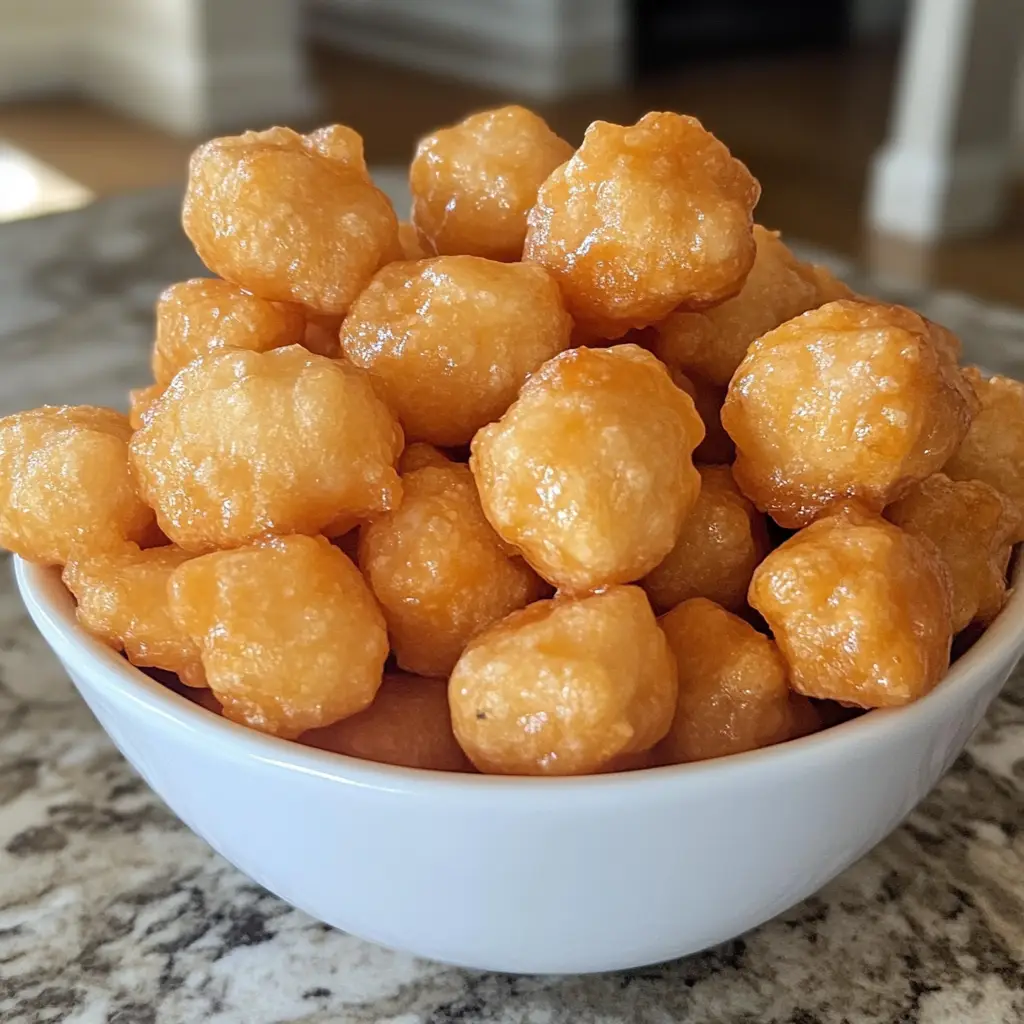
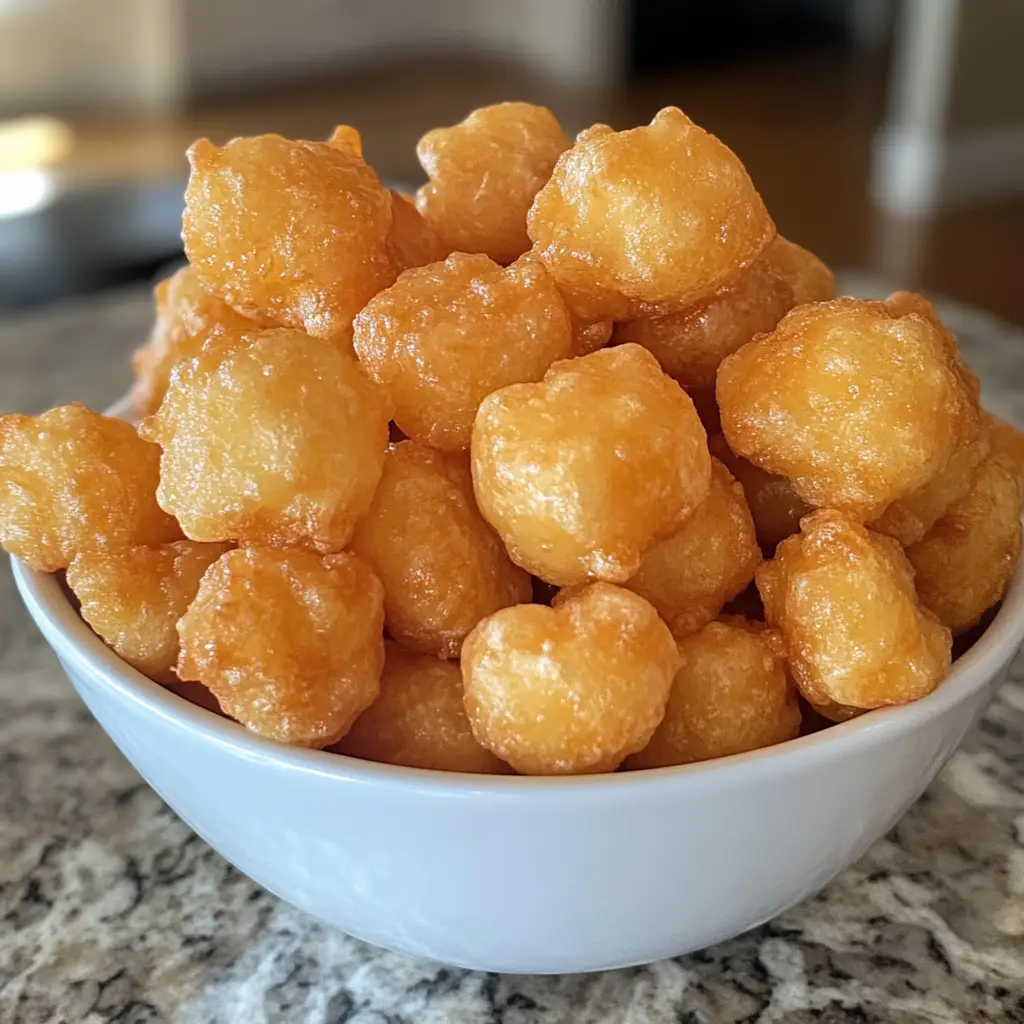
Ah, Cheese Puffs! These delightful little bites are the perfect crunchy snack that everyone seems to adore. As a busy mom, I know how challenging it can be to whip up something quick yet satisfying. That’s where these cheese puffs come in! They’re not just easy to make; they also bring a smile to the faces of my family. Whether it’s a last-minute gathering or a cozy movie night at home, these cheesy morsels are sure to impress. Plus, they’re a fantastic way to sneak in some deliciousness without spending hours in the kitchen!
Why You’ll Love This Cheese Puffs
These cheese puffs are a game-changer for busy days! They come together in just 30 minutes, making them a quick solution for snack time or unexpected guests. The taste? Oh, it’s a delightful explosion of cheesy goodness that melts in your mouth. Plus, they’re versatile enough to please even the pickiest eaters. Trust me, once you try them, you’ll wonder how you ever lived without this crunchy snack in your life!
Ingredients for Cheese Puffs
Let’s gather our ingredients for these delightful cheese puffs! Each one plays a vital role in creating that perfect crunch and cheesy flavor.
- Cornmeal: This is the base of our cheese puffs, giving them that light and airy texture. It’s a fantastic gluten-free option!
- Shredded Cheese: I love using cheddar for its sharp flavor, but feel free to experiment with your favorite cheese. Mozzarella or pepper jack can add a fun twist!
- Water: This helps to create the right consistency in our mixture. It’s essential for bringing everything together.
- Butter: Adds richness and flavor. You can substitute with margarine if you prefer, but butter really enhances the taste.
- Salt: A pinch of salt elevates the flavors, making each bite irresistible. Don’t skip this step!
- Paprika (optional): For those who like a little kick, paprika adds a subtle warmth and color. You can also try cayenne pepper for a spicier version!
For exact measurements, check the bottom of the article where you can find everything listed for easy printing. Now, let’s get cooking!
How to Make Cheese Puffs
Now that we have our ingredients ready, let’s dive into the fun part—making these delicious cheese puffs! Follow these simple steps, and you’ll have a crunchy snack that everyone will love.
Step 1: Preheat the Oven
First things first, preheat your oven to 350°F (175°C). Preheating is crucial because it ensures that your cheese puffs bake evenly. A hot oven helps them rise beautifully, creating that light and airy texture we all crave. Trust me, you don’t want to skip this step!
Step 2: Prepare the Mixture
In a saucepan, combine the water, butter, and salt. Bring this mixture to a boil over medium heat. Boiling is essential as it helps the butter melt completely and infuses the water with flavor. Once it’s bubbling away, you’re ready for the next step!
Step 3: Add Cornmeal
Remove the saucepan from heat and stir in the cornmeal. Mix it well until everything is combined. The texture should be thick and slightly sticky, almost like a dough. This is what gives our cheese puffs that delightful crunch. Don’t worry if it seems a bit lumpy at first; it will smooth out in the next step!
Step 4: Mix in the Cheese
Now, it’s time to add the star of the show—our shredded cheese! I recommend using sharp cheddar for a bold flavor, but feel free to get creative. Stir the cheese into the warm mixture until it melts smoothly. This step is where the magic happens, and your kitchen will start to smell heavenly!
Step 5: Shape the Puffs
Using a spoon, drop generous spoonfuls of the mixture onto a baking sheet lined with parchment paper. Make sure to leave some space between each puff, as they will expand while baking. If you want them to be uniform, you can use a cookie scoop for even sizes. This will help them cook evenly!
Step 6: Bake to Perfection
Pop the baking sheet into your preheated oven and bake for 15-20 minutes. Keep an eye on them! You’ll know they’re done when they turn a lovely golden brown. If you want to be extra sure, you can gently press one to see if it feels firm. That’s your cue!
Step 7: Cool and Serve
Once they’re out of the oven, let the cheese puffs cool slightly on the baking sheet. This is important because it allows them to firm up a bit more. Serve them warm for the best texture, and watch them disappear in no time!
Tips for Success
- Use freshly shredded cheese for better melting and flavor.
- Don’t skip the preheating step; it’s key for that perfect puff!
- Experiment with different cheeses to find your favorite combination.
- For extra crunch, bake a few minutes longer, but watch closely!
- Store leftovers in an airtight container to keep them crispy.
Equipment Needed
- Medium saucepan: A regular pot works too, just ensure it has a sturdy base.
- Baking sheet: Use any flat baking tray; a cookie sheet is perfect!
- Parchment paper: If you don’t have it, greasing the baking sheet will do.
- Spoon or cookie scoop: A regular spoon is fine, but a scoop helps with uniformity.
Variations of Cheese Puffs
- Herbed Cheese Puffs: Add fresh or dried herbs like rosemary or thyme for an aromatic twist.
- Spicy Cheese Puffs: Mix in some diced jalapeños or a dash of hot sauce for a fiery kick.
- Cheese and Bacon Puffs: Fold in crispy bacon bits for a savory, meaty flavor that’s hard to resist.
- Vegetable Cheese Puffs: Incorporate finely chopped spinach or bell peppers for added nutrition and color.
- Gluten-Free Option: Substitute cornmeal with a gluten-free flour blend for a safe snack for those with gluten sensitivities.
Serving Suggestions for Cheese Puffs
- Pair cheese puffs with a zesty marinara or ranch dip for an extra flavor boost.
- Serve alongside a fresh garden salad for a delightful contrast of textures.
- For drinks, try sparkling lemonade or a crisp white wine to complement the cheesy goodness.
- Present them on a colorful platter for a festive touch at gatherings.
FAQs about Cheese Puffs
As I’ve shared my love for cheese puffs, I know you might have some questions. Here are a few common ones that pop up, along with my answers to help you out!
Can I make cheese puffs ahead of time?
Absolutely! You can prepare the mixture and shape the puffs, then store them in the fridge for a few hours before baking. Just remember to let them come to room temperature before popping them in the oven.
What type of cheese works best for cheese puffs?
While I adore sharp cheddar for its bold flavor, you can use any cheese you like! Mozzarella gives a gooey texture, while pepper jack adds a spicy kick. Feel free to mix and match!
How do I store leftover cheese puffs?
To keep your cheese puffs crispy, store them in an airtight container at room temperature. If they lose their crunch, you can reheat them in the oven for a few minutes to bring back that delightful texture.
Can I freeze cheese puffs?
Yes, you can freeze them! Just make sure they are completely cooled before placing them in a freezer-safe bag. When you’re ready to enjoy, bake them straight from the freezer, adding a few extra minutes to the cooking time.
What can I serve with cheese puffs?
Cheese puffs pair wonderfully with dips like marinara or ranch. You can also serve them alongside a fresh salad or as part of a charcuterie board for a fun gathering!
Final Thoughts
Making cheese puffs is more than just a cooking task; it’s a delightful experience that brings joy to my kitchen. The aroma of melting cheese fills the air, creating a warm atmosphere that invites everyone to gather around. These crunchy snacks are perfect for any occasion, whether it’s a family movie night or a casual get-together with friends. Plus, the smiles on my loved ones’ faces as they savor each bite make all the effort worthwhile. I hope you find as much joy in making these cheese puffs as I do. Happy cooking!
Print
Cheese Puffs: Discover the Crunchy Snack Everyone Loves!
- Total Time: 30 minutes
- Yield: 24 cheese puffs 1x
- Diet: Vegetarian
Description
Cheese Puffs are a delicious and crunchy snack that are loved by people of all ages. They are made from cheese and cornmeal, resulting in a light and airy texture that melts in your mouth.
Ingredients
- 1 cup cornmeal
- 1 cup shredded cheese (cheddar or your choice)
- 1/2 cup water
- 1/4 cup butter
- 1/2 teaspoon salt
- 1/2 teaspoon paprika (optional)
Instructions
- Preheat your oven to 350°F (175°C).
- In a saucepan, combine water, butter, and salt. Bring to a boil.
- Once boiling, remove from heat and stir in the cornmeal until well combined.
- Add the shredded cheese and mix until melted and smooth.
- Drop spoonfuls of the mixture onto a baking sheet lined with parchment paper.
- Bake for 15-20 minutes or until golden brown.
- Let cool slightly before serving.
Notes
- For a spicier version, add cayenne pepper to the mixture.
- Store leftovers in an airtight container to maintain crunchiness.
- These can be made ahead of time and reheated in the oven.
- Prep Time: 10 minutes
- Cook Time: 20 minutes
- Category: Snack
- Method: Baking
- Cuisine: American
Nutrition
- Serving Size: 1 cheese puff
- Calories: 80
- Sugar: 0g
- Sodium: 150mg
- Fat: 5g
- Saturated Fat: 3g
- Unsaturated Fat: 2g
- Trans Fat: 0g
- Carbohydrates: 7g
- Fiber: 0g
- Protein: 2g
- Cholesterol: 15mg
Keywords: Cheese Puffs, Snack, Crunchy Snack, Cheese Snack