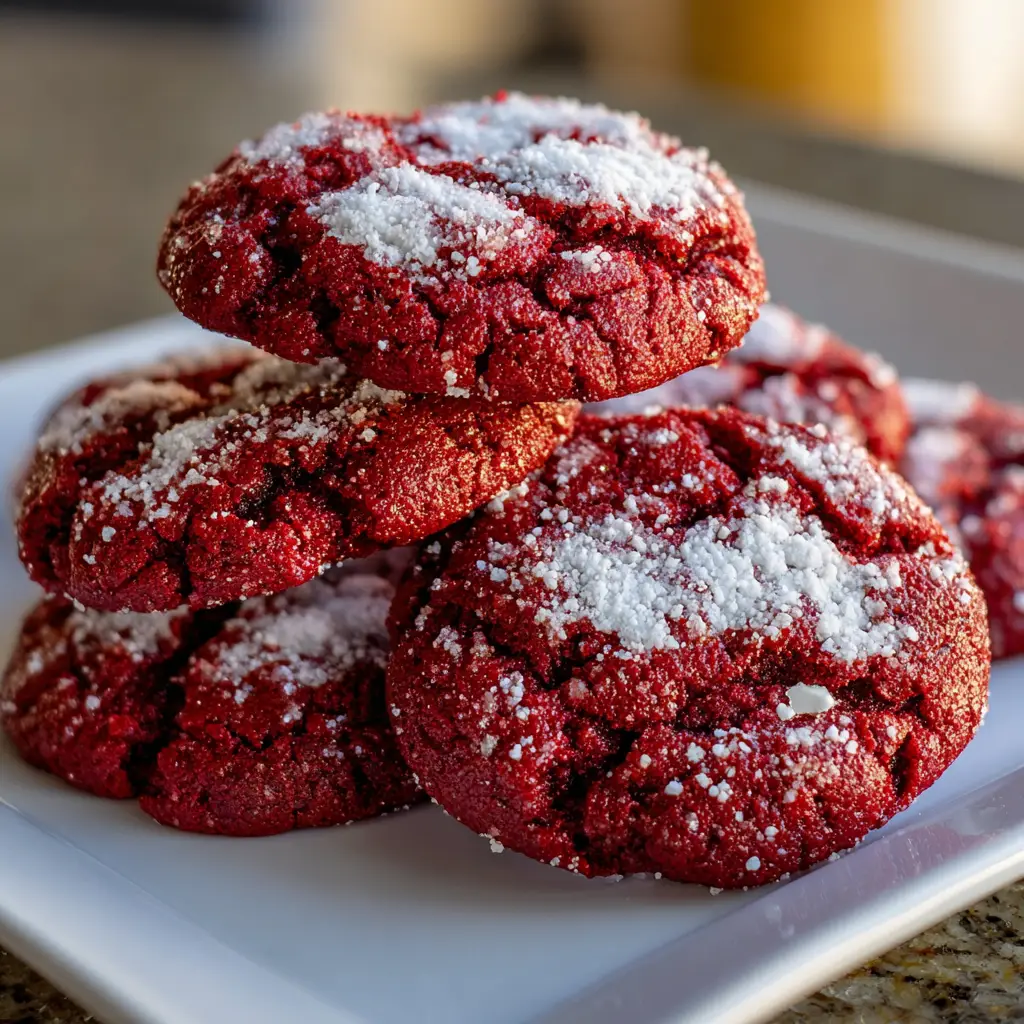
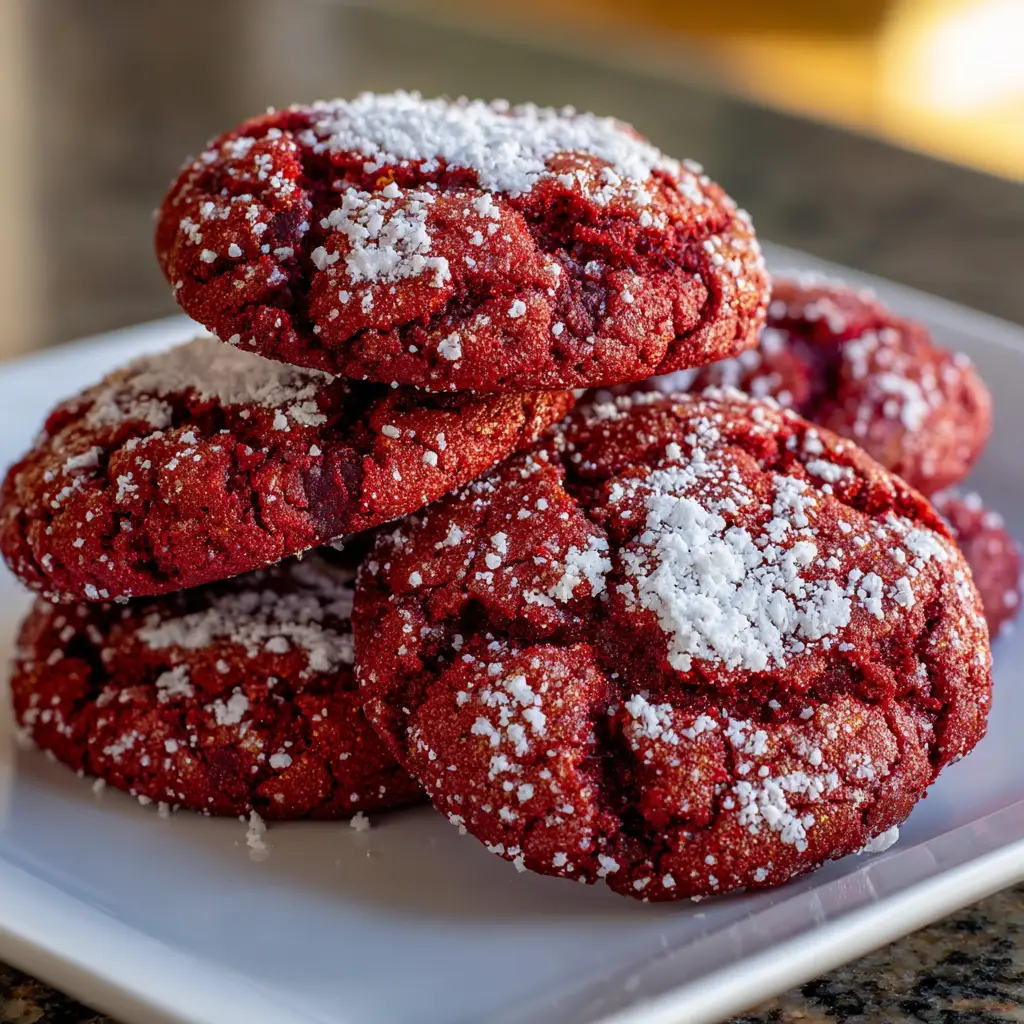
Bloody Red Velvet Crinkle Cookies: A Spooky Delight!
Introduction to Bloody Red Velvet Crinkle Cookies
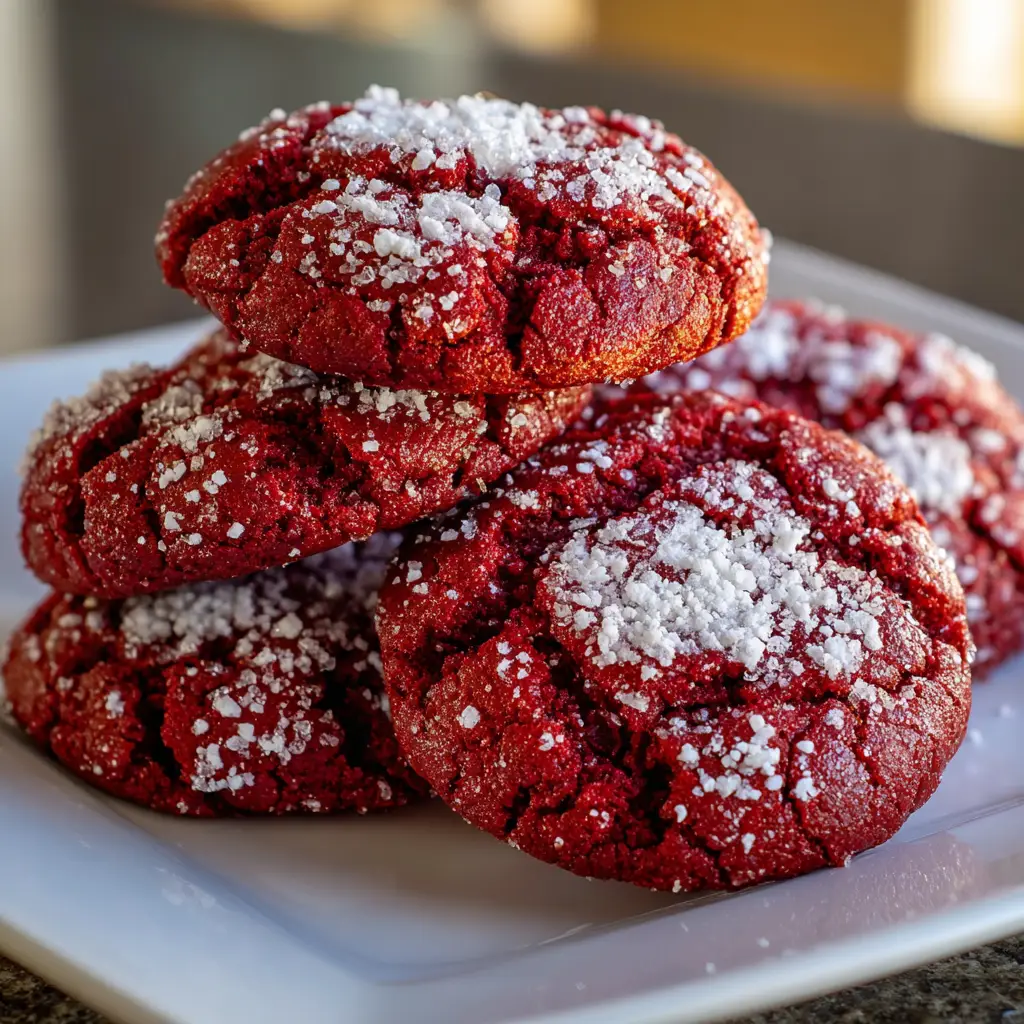
As a busy mom, I know how important it is to find treats that are both delightful and easy to whip up. That’s where these Bloody Red Velvet Crinkle Cookies come in! With their vibrant color and crinkly tops, they’re not just a feast for the eyes but also a deliciously sweet indulgence. Perfect for Halloween or any festive gathering, these cookies will impress your loved ones without taking up your entire day. Trust me, once you bake these, they’ll become a go-to recipe in your kitchen!
Why You’ll Love This Bloody Red Velvet Crinkle Cookies
These Bloody Red Velvet Crinkle Cookies are a dream come true for busy moms and professionals alike. They’re quick to make, taking just about 42 minutes from start to finish. The rich, velvety flavor combined with a hint of cocoa makes them utterly irresistible. Plus, their spooky appearance adds a fun twist to any gathering, making them a hit with kids and adults. Who doesn’t love a cookie that’s both delicious and festive?
Ingredients for Bloody Red Velvet Crinkle Cookies
Gathering the right ingredients is the first step to creating these delightful Bloody Red Velvet Crinkle Cookies. Here’s what you’ll need:
- All-purpose flour: This is the base of your cookies, providing structure and a soft texture.
- Cocoa powder: Just a tablespoon adds a subtle chocolate flavor, enhancing the richness of the red velvet.
- Baking powder: This leavening agent helps the cookies rise, giving them that lovely crinkly top.
- Salt: A pinch of salt balances the sweetness and enhances the overall flavor.
- Unsalted butter: Softened butter creates a creamy texture and rich taste, making your cookies melt in your mouth.
- Granulated sugar: This sweetener is essential for that delightful sweetness and helps achieve a nice texture.
- Large egg: The egg binds everything together, adding moisture and richness.
- Red food coloring: This is what gives these cookies their signature bloody hue. Feel free to use gel or liquid, but gel provides a more vibrant color.
- Vanilla extract: A splash of vanilla adds warmth and depth to the flavor profile.
- Powdered sugar: For dusting, this gives the cookies a snowy finish and adds a touch of sweetness.
For those looking to get creative, consider adding a dash of almond extract for a unique twist or using gluten-free flour as a substitute. You can find the exact measurements for each ingredient at the bottom of the article, ready for printing!
How to Make Bloody Red Velvet Crinkle Cookies
Now that you have your ingredients ready, let’s dive into the fun part: making these Bloody Red Velvet Crinkle Cookies! Follow these simple steps, and you’ll have a batch of spooky treats in no time.
Step 1: Preheat the Oven
First things first, preheat your oven to 350°F (175°C). This step is crucial because it ensures your cookies bake evenly. While the oven warms up, line a baking sheet with parchment paper. This will prevent the cookies from sticking and make cleanup a breeze!
Step 2: Mix Dry Ingredients
In a medium bowl, whisk together the all-purpose flour, cocoa powder, baking powder, and salt. This step is important because it evenly distributes the leavening agent and cocoa, ensuring every bite is perfectly balanced. Set this mixture aside for now; we’ll come back to it shortly!
Step 3: Cream Butter and Sugar
In a large mixing bowl, cream the softened unsalted butter and granulated sugar together until the mixture is light and fluffy. This usually takes about 2-3 minutes with an electric mixer. The fluffiness is key to achieving that melt-in-your-mouth texture we all love in cookies!
Step 4: Combine Wet Ingredients
Next, add the large egg, red food coloring, and vanilla extract to the butter mixture. Mix until everything is well combined. The red food coloring is what gives these cookies their signature bloody hue, so don’t be shy—add enough to make them pop!
Step 5: Combine Wet and Dry Ingredients
Now, gradually add the dry ingredients to the wet mixture. Mix until just combined; be careful not to overmix. Overmixing can lead to tough cookies, and we want them to be soft and chewy. A few flour streaks are okay!
Step 6: Chill the Dough
Chill the dough in the refrigerator for about 30 minutes. This step is essential for better texture and helps the cookies hold their shape while baking. Plus, it makes them easier to scoop and roll!
Step 7: Shape the Cookies
Once the dough is chilled, scoop tablespoon-sized portions and roll them into balls. I like to use a cookie scoop for this—it makes the process quick and uniform. Place the dough balls on a plate or baking sheet as you go.
Step 8: Coat in Powdered Sugar
Now comes the fun part! Roll each dough ball in powdered sugar until they’re fully coated. This not only adds sweetness but also creates that beautiful crinkly effect as they bake. Don’t skimp on the sugar; it’s what makes these cookies look so festive!
Step 9: Bake the Cookies
Place the cookies on your prepared baking sheet, spacing them about 2 inches apart. Bake for 10-12 minutes, or until the edges are set and the tops are crinkled. Keep an eye on them; you want them to be soft in the center but not doughy!
Step 10: Cool the Cookies
Once baked, allow the cookies to cool on the baking sheet for a few minutes. This helps them firm up a bit. Then, transfer them to a wire rack to cool completely. The aroma wafting through your kitchen will be irresistible!
Tips for Success
- Make sure your butter is softened for easy creaming.
- Don’t skip the chilling step; it’s key for texture.
- Use a cookie scoop for uniform cookie sizes.
- Check your cookies a minute or two early to avoid overbaking.
- Experiment with different food coloring for fun variations!
Equipment Needed
- Mixing bowls: A set of various sizes is handy; you can use any large bowl if needed.
- Electric mixer: A hand mixer works great, but a whisk can do the job too.
- Baking sheet: Use any flat baking tray; just line it with parchment paper.
- Cookie scoop: A tablespoon works well if you don’t have one.
- Wire rack: A cooling rack is ideal, but a plate can work in a pinch.
Variations of Bloody Red Velvet Crinkle Cookies
- Chocolate Chip Addition: Fold in some semi-sweet or white chocolate chips for an extra layer of sweetness and texture.
- Nutty Twist: Add chopped walnuts or pecans for a delightful crunch that complements the soft cookie.
- Gluten-Free Option: Substitute all-purpose flour with a gluten-free blend to make these cookies suitable for gluten-sensitive friends.
- Vegan Version: Replace the egg with a flaxseed egg (1 tablespoon ground flaxseed mixed with 2.5 tablespoons water) and use vegan butter.
- Spicy Kick: Add a pinch of cayenne pepper or cinnamon to the dough for a surprising flavor twist that pairs well with the sweetness.
Serving Suggestions for Bloody Red Velvet Crinkle Cookies
- Pair these cookies with a glass of cold milk for a classic treat.
- Serve alongside a scoop of vanilla ice cream for a decadent dessert.
- For a spooky touch, arrange them on a Halloween-themed platter.
- Drizzle with chocolate sauce for an extra indulgent experience.
FAQs about Bloody Red Velvet Crinkle Cookies
Can I use liquid food coloring instead of gel?
Absolutely! While gel food coloring gives a more vibrant hue, liquid food coloring works just fine. Just be cautious with the amount, as it can add extra moisture to the dough.
How do I store leftover cookies?
Store your Bloody Red Velvet Crinkle Cookies in an airtight container at room temperature for up to a week. If you want to keep them longer, freeze them for up to three months!
Can I make these cookies ahead of time?
Yes! You can prepare the dough in advance and chill it in the refrigerator. Just scoop and roll the dough into balls, then coat them in powdered sugar right before baking.
What can I do if my cookies spread too much?
If your cookies spread too much, it could be due to warm dough or not enough chilling time. Make sure to chill the dough for at least 30 minutes before baking to help them hold their shape.
Can I add other flavors to the cookies?
Definitely! Feel free to experiment with flavors like almond extract or even a hint of peppermint for a festive twist. Just remember to adjust the quantities to your taste!
Final Thoughts
Baking these Bloody Red Velvet Crinkle Cookies is more than just a culinary adventure; it’s a chance to create lasting memories with your loved ones. The vibrant color and delightful taste make them a perfect addition to any festive occasion. I love how they bring smiles to faces, especially when shared with family and friends. Plus, the simplicity of the recipe means you can whip them up even on the busiest days. So, roll up your sleeves, embrace the mess, and enjoy the sweet satisfaction of baking these spooky treats!
Print
Bloody Red Velvet Crinkle Cookies: A Spooky Delight!
- Total Time: 42 minutes
- Yield: 24 cookies 1x
- Diet: Vegetarian
Description
These Bloody Red Velvet Crinkle Cookies are a spooky and delicious treat perfect for Halloween or any festive occasion. With their vibrant red color and crinkly appearance, they are sure to impress your guests.
Ingredients
- 2 cups all-purpose flour
- 1 tablespoon cocoa powder
- 1 teaspoon baking powder
- 1/2 teaspoon salt
- 1/2 cup unsalted butter, softened
- 1 cup granulated sugar
- 1 large egg
- 1 tablespoon red food coloring
- 1 teaspoon vanilla extract
- 1/2 cup powdered sugar for dusting
Instructions
- Preheat your oven to 350°F (175°C) and line a baking sheet with parchment paper.
- In a bowl, whisk together the flour, cocoa powder, baking powder, and salt.
- In a separate bowl, cream the softened butter and granulated sugar until light and fluffy.
- Add the egg, red food coloring, and vanilla extract to the butter mixture and mix until well combined.
- Gradually add the dry ingredients to the wet ingredients, mixing until just combined.
- Chill the dough in the refrigerator for about 30 minutes.
- Once chilled, scoop tablespoon-sized portions of dough and roll them into balls.
- Roll each ball in powdered sugar until fully coated.
- Place the cookies on the prepared baking sheet, spacing them about 2 inches apart.
- Bake for 10-12 minutes, or until the edges are set and the tops are crinkled.
- Allow the cookies to cool on the baking sheet for a few minutes before transferring them to a wire rack to cool completely.
Notes
- For an extra spooky touch, you can add red gel icing to create ‘blood’ drips on the cookies.
- Store cookies in an airtight container for up to a week.
- These cookies can be frozen for up to 3 months; just thaw before serving.
- Prep Time: 30 minutes
- Cook Time: 12 minutes
- Category: Dessert
- Method: Baking
- Cuisine: American
Nutrition
- Serving Size: 1 cookie
- Calories: 150
- Sugar: 10g
- Sodium: 100mg
- Fat: 7g
- Saturated Fat: 4g
- Unsaturated Fat: 2g
- Trans Fat: 0g
- Carbohydrates: 20g
- Fiber: 1g
- Protein: 2g
- Cholesterol: 20mg
Keywords: Bloody Red Velvet Crinkle Cookies, Halloween cookies, red velvet cookies, spooky treats