Mummy Chocolate Chip Cookies: A Spooktacular Treat!
Introduction to Mummy Chocolate Chip Cookies
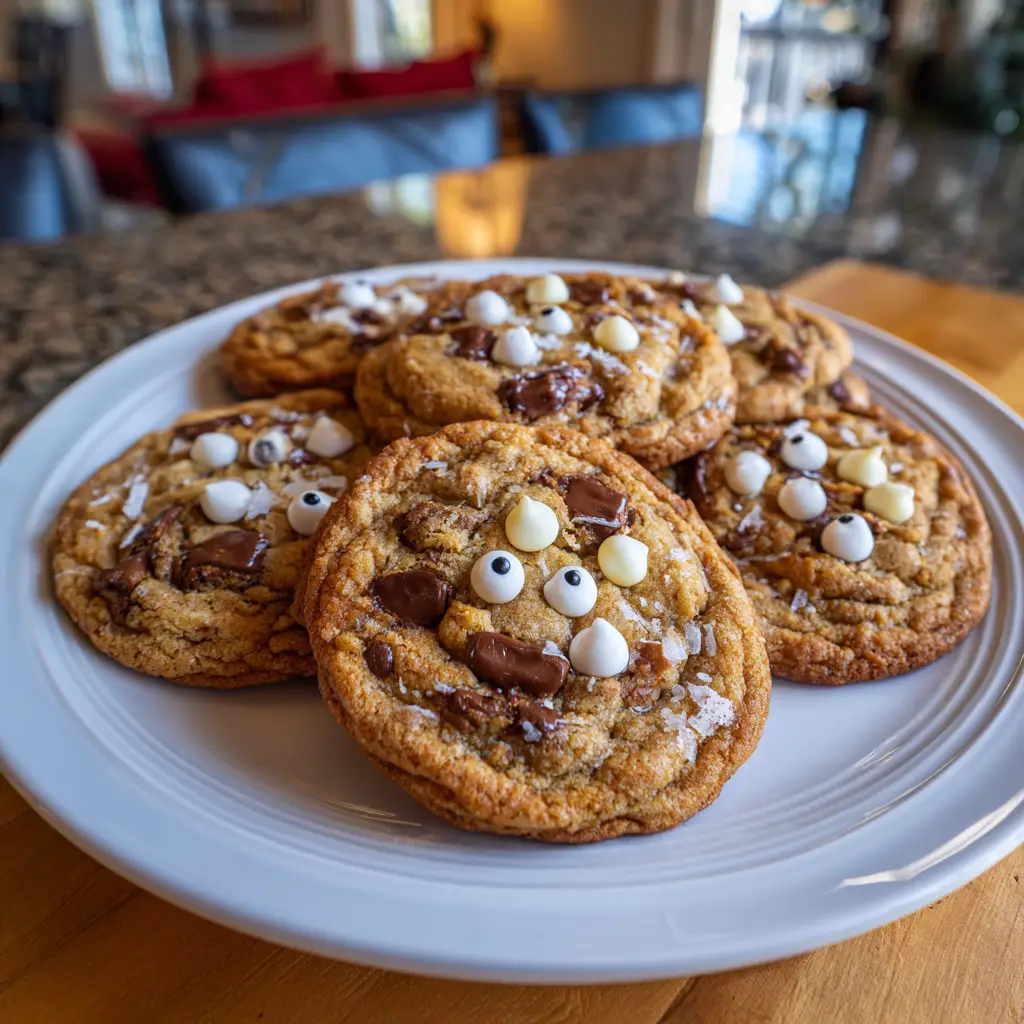
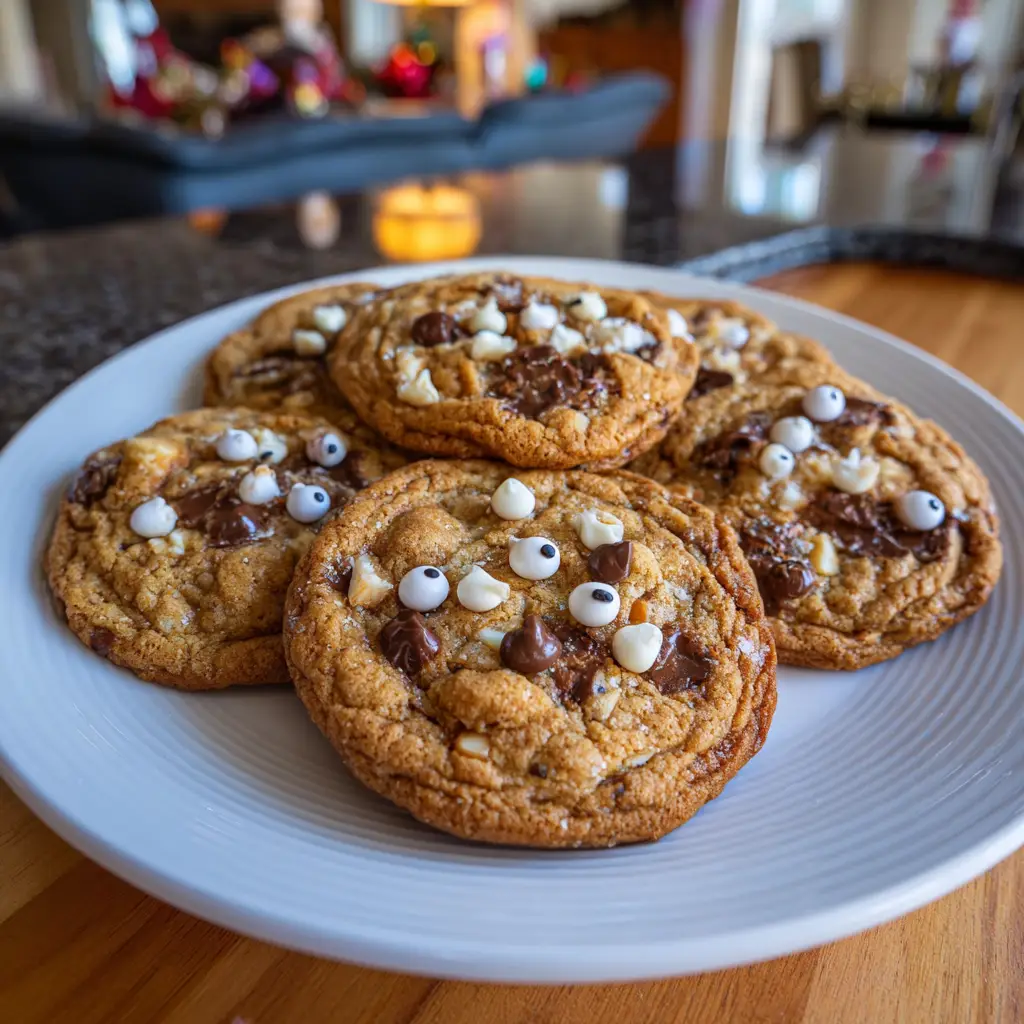
As the leaves turn and the air gets crisp, I can’t help but get excited about Halloween. One of my favorite ways to celebrate is by baking Mummy Chocolate Chip Cookies. These delightful treats are not just delicious; they’re a fun way to bring a little spooky spirit into your kitchen. Perfect for busy moms like us, this recipe is quick and easy, making it a fantastic solution for those hectic days. Plus, who wouldn’t want to impress their loved ones with these adorable, festive cookies? Let’s dive into this sweet adventure together!
Why You’ll Love This Mummy Chocolate Chip Cookies
These Mummy Chocolate Chip Cookies are a delightful blend of ease and flavor. They come together in just about 32 minutes, making them perfect for busy days. The rich chocolate chips melt in your mouth, while the spooky design adds a fun twist that kids adore. Plus, they’re a great way to get the family involved in the kitchen, creating sweet memories together. What’s not to love?
Ingredients for Mummy Chocolate Chip Cookies
Gathering the right ingredients is the first step to creating these delightful Mummy Chocolate Chip Cookies. Here’s what you’ll need:
- Unsalted butter: This is the base of your cookies, providing richness and flavor. Make sure it’s softened for easy mixing.
- Granulated sugar: This sweetener helps create a lovely texture and sweetness in your cookies.
- Brown sugar: Packed brown sugar adds moisture and a hint of caramel flavor, making your cookies chewy.
- Large eggs: Eggs bind the ingredients together and contribute to the cookies’ structure and richness.
- Vanilla extract: A splash of vanilla enhances the overall flavor, making your cookies taste even more delicious.
- All-purpose flour: The main ingredient that gives your cookies their structure. It’s essential for that perfect cookie texture.
- Baking soda: This leavening agent helps the cookies rise and become fluffy, ensuring they’re not too dense.
- Salt: Just a pinch balances the sweetness and enhances the flavors of the other ingredients.
- Chocolate chips: The star of the show! Use regular or mini chocolate chips for a fun twist.
- White icing: This is what transforms your cookies into mummies! It’s perfect for creating those spooky bandages.
- Candy eyes: These adorable decorations bring your mummies to life and add a playful touch.
For exact measurements, check the bottom of the article where you can find everything listed for easy printing. Happy baking!
How to Make Mummy Chocolate Chip Cookies
Now that we have our ingredients ready, let’s get baking! Follow these simple steps to create your Mummy Chocolate Chip Cookies. Each step is designed to ensure your cookies turn out perfectly every time.
Step 1: Preheat the Oven
First things first, preheat your oven to 350°F (175°C). Preheating is crucial because it ensures that your cookies bake evenly. If the oven isn’t hot enough, your cookies might spread too much or not rise properly. Trust me, a well-preheated oven is the secret to cookie success!
Step 2: Cream the Butter and Sugars
In a large bowl, cream together the softened butter, granulated sugar, and brown sugar until the mixture is smooth and fluffy. This step is vital for achieving the right texture. The air you incorporate while creaming helps your cookies rise, making them light and chewy. Don’t rush this step; take your time to get it just right!
Step 3: Add Eggs and Vanilla
Next, add the eggs and vanilla extract to the butter-sugar mixture. Mix until everything is well combined. Eggs are essential for binding the ingredients together, while vanilla adds a warm, inviting flavor. It’s like a hug for your taste buds!
Step 4: Combine Dry Ingredients
In a separate bowl, whisk together the all-purpose flour, baking soda, and salt. Mixing dry ingredients separately helps ensure that the baking soda and salt are evenly distributed. This step prevents any clumps and guarantees that every bite of your cookies is perfectly balanced.
Step 5: Mix Wet and Dry Ingredients
Now, gradually add the dry ingredients to the wet mixture. Stir gently until just combined. Be careful not to overmix! Overmixing can lead to tough cookies, and we want them to be soft and chewy. A few flour streaks are okay; they’ll disappear as you fold in the chocolate chips.
Step 6: Fold in Chocolate Chips
Time to add the star of the show—chocolate chips! Gently fold them into the dough. You can use regular or mini chocolate chips for a fun twist. Mini chips create a delightful burst of chocolate in every bite, while regular ones provide that classic cookie experience.
Step 7: Shape the Cookies
Using a spoon or cookie scoop, drop spoonfuls of dough onto a baking sheet lined with parchment paper. Leave some space between each cookie, as they will spread while baking. If you want uniform cookies, try to make them all the same size. It makes for a prettier presentation!
Step 8: Bake the Cookies
Bake your cookies in the preheated oven for 10-12 minutes. Keep an eye on them! You want the edges to be golden brown while the centers remain soft. If you overbake, they’ll lose that chewy texture we all love. A little trick? Take them out when they look slightly underbaked; they’ll continue to cook on the baking sheet.
Step 9: Cool and Decorate
Once baked, let the cookies cool on the baking sheet for a few minutes before transferring them to a wire rack. This helps them set without falling apart. Once cooled, it’s time for the fun part! Use white icing to create mummy bandages and add candy eyes for a spooky touch. Your Mummy Chocolate Chip Cookies are now ready to impress!
Tips for Success
- Make sure your butter is softened for easy mixing.
- Don’t skip the preheating step; it’s key for even baking.
- Use a cookie scoop for uniform cookie sizes.
- Check cookies a minute early to avoid overbaking.
- Let cookies cool completely before decorating for best results.

Equipment Needed
- Mixing bowls: A large bowl for mixing and a smaller one for dry ingredients. You can use any bowls you have on hand.
- Electric mixer: A hand mixer works great, but a whisk and some elbow grease will do the trick!
- Baking sheet: A standard baking sheet lined with parchment paper is ideal.
- Cookie scoop: If you don’t have one, a spoon works just fine for shaping the cookies.
Variations of Mummy Chocolate Chip Cookies
- Nutty Twist: Add chopped nuts like walnuts or pecans for a delightful crunch.
- Gluten-Free Option: Substitute all-purpose flour with a gluten-free blend for a tasty alternative.
- Dark Chocolate Delight: Use dark chocolate chips instead of regular for a richer flavor.
- Spiced Up: Add a teaspoon of cinnamon or pumpkin spice for a warm, autumnal twist.
- Vegan Version: Replace butter with coconut oil and use flax eggs for a plant-based treat.
Serving Suggestions for Mummy Chocolate Chip Cookies
- Pair these cookies with a glass of cold milk for a classic treat.
- Serve alongside a warm cup of hot cocoa for a cozy dessert experience.
- For a festive touch, arrange cookies on a spooky-themed platter.
- Include them in a Halloween goodie bag for friends and family.
FAQs about Mummy Chocolate Chip Cookies
Can I make Mummy Chocolate Chip Cookies ahead of time?
Absolutely! You can prepare the dough in advance and refrigerate it for up to 3 days. Just scoop the dough onto the baking sheet when you’re ready to bake. This makes it super convenient for busy days!
How do I store leftover cookies?
Store your Mummy Chocolate Chip Cookies in an airtight container at room temperature. They’ll stay fresh for up to a week. If you want to keep them longer, you can freeze them for up to three months!
Can I use different types of chocolate chips?
Definitely! Feel free to mix it up with dark chocolate, white chocolate, or even peanut butter chips. Each variation adds a unique twist to your Mummy Chocolate Chip Cookies!
What if I don’t have candy eyes?
No worries! You can use chocolate chips or even small pieces of fruit like raisins for eyes. Get creative with your decorations; it’s all about having fun!
Are these cookies suitable for a gluten-free diet?
Yes! Simply substitute the all-purpose flour with a gluten-free flour blend. Your Mummy Chocolate Chip Cookies will still be delicious and spooky!
Final Thoughts
Baking Mummy Chocolate Chip Cookies is more than just a recipe; it’s a delightful experience that brings joy to both the kitchen and the heart. The laughter shared while decorating these spooky treats creates lasting memories with family. Each bite is a sweet reminder of the fun we can have, even on the busiest days. Plus, the smiles on my kids’ faces when they see these adorable cookies are priceless. So, gather your loved ones, roll up your sleeves, and let’s make some magic happen in the kitchen this Halloween season!
Print
Mummy Chocolate Chip Cookies: A Spooktacular Treat!
- Total Time: 32 minutes
- Yield: 24 cookies 1x
- Diet: Vegetarian
Description
Mummy Chocolate Chip Cookies are a fun and festive treat perfect for Halloween, featuring chocolate chips and a spooky mummy design.
Ingredients
- 1 cup unsalted butter, softened
- 1 cup granulated sugar
- 1 cup brown sugar, packed
- 2 large eggs
- 1 teaspoon vanilla extract
- 3 cups all-purpose flour
- 1 teaspoon baking soda
- 1/2 teaspoon salt
- 2 cups chocolate chips
- White icing for decoration
- Candy eyes for decoration
Instructions
- Preheat the oven to 350°F (175°C).
- In a large bowl, cream together the softened butter, granulated sugar, and brown sugar until smooth.
- Add the eggs and vanilla extract, mixing until well combined.
- In a separate bowl, whisk together the flour, baking soda, and salt.
- Gradually add the dry ingredients to the wet ingredients, mixing until just combined.
- Fold in the chocolate chips.
- Drop spoonfuls of dough onto a baking sheet lined with parchment paper.
- Bake for 10-12 minutes or until the edges are golden brown.
- Let the cookies cool on the baking sheet for a few minutes before transferring them to a wire rack to cool completely.
- Once cooled, use white icing to create mummy bandages and add candy eyes for decoration.
Notes
- For a softer cookie, do not overbake.
- Feel free to use mini chocolate chips for a different look.
- Store cookies in an airtight container for up to a week.
- Prep Time: 20 minutes
- Cook Time: 12 minutes
- Category: Dessert
- Method: Baking
- Cuisine: American
Nutrition
- Serving Size: 1 cookie
- Calories: 150
- Sugar: 10g
- Sodium: 100mg
- Fat: 7g
- Saturated Fat: 4g
- Unsaturated Fat: 2g
- Trans Fat: 0g
- Carbohydrates: 20g
- Fiber: 1g
- Protein: 2g
- Cholesterol: 20mg
Keywords: Mummy Chocolate Chip Cookies, Halloween cookies, spooky treats, chocolate chip cookies