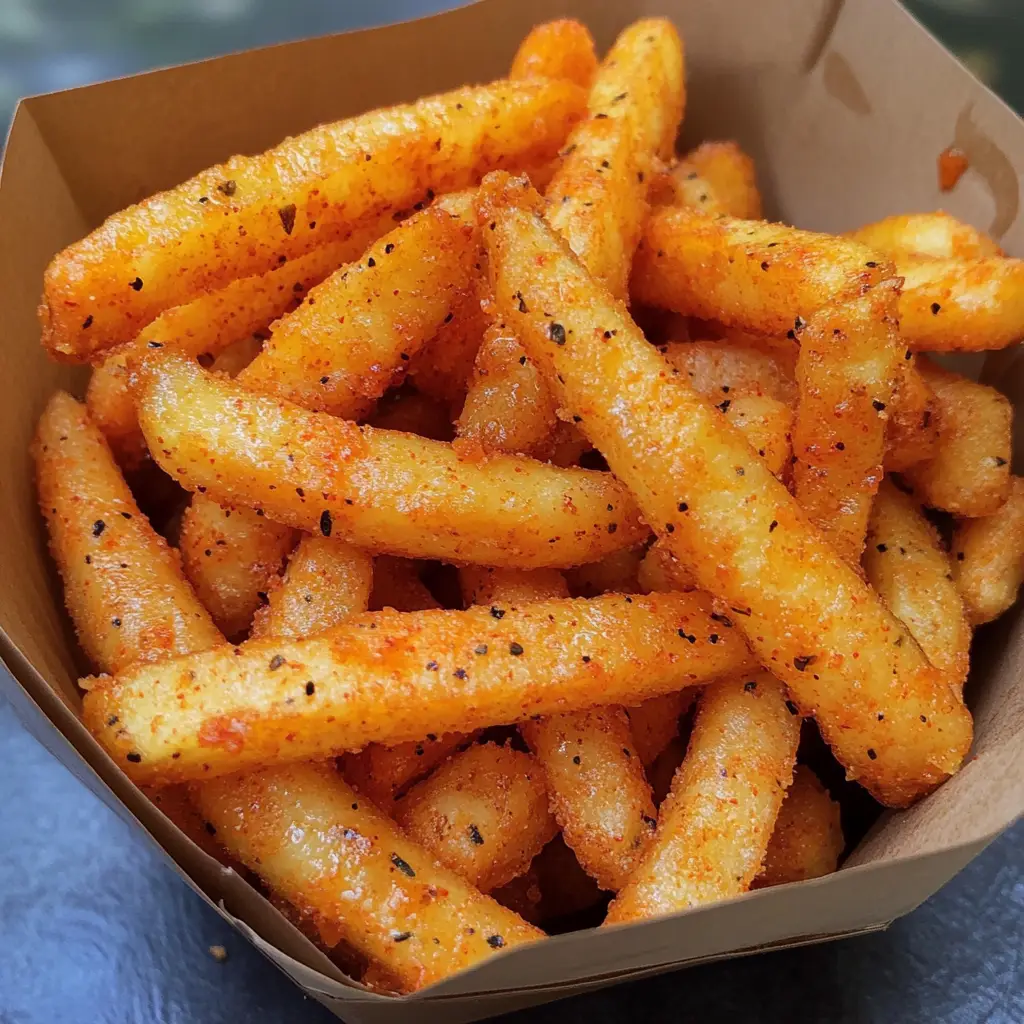
Pickle Fries: Discover the Crispy Sensation Today!
Introduction to Pickle Fries
Hey there, fellow food lovers! If you’re anything like me, you know that life can get pretty hectic. Between juggling work, family, and everything in between, finding time to whip up something delicious can feel like a challenge. That’s where these delightful Pickle Fries come in! They’re the perfect crispy snack that’s quick to make and sure to impress your loved ones. Imagine biting into a crunchy, flavorful pickle fry, and suddenly, all your worries fade away. Trust me, this recipe is a game-changer for busy days or spontaneous gatherings!
Why You’ll Love This Pickle Fries
These Pickle Fries are not just a snack; they’re a lifesaver! They come together in just 25 minutes, making them perfect for those busy weeknights. The crispy coating adds a delightful crunch, while the tangy pickles inside provide a burst of flavor. Plus, they’re a hit with both kids and adults, so you can satisfy everyone’s cravings without breaking a sweat. What’s not to love?
Ingredients for Pickle Fries
Let’s gather our ingredients for these scrumptious Pickle Fries. Each one plays a vital role in creating that perfect crunch and flavor. Here’s what you’ll need:
- Pickles: The star of the show! Choose your favorite dill or bread-and-butter pickles for a sweet or tangy twist.
- All-purpose flour: This forms the base of our coating, giving the fries a nice, crispy texture.
- Cornstarch: A secret weapon for extra crunch! It helps create that delightful crispiness we all crave.
- Eggs: These act as the glue, helping the coating stick to the pickles. Beaten eggs work best for even coverage.
- Breadcrumbs: Opt for fresh breadcrumbs for a light, airy crunch. They’re essential for that golden-brown finish.
- Salt and pepper: Simple seasonings that enhance the flavor of the pickles and coating. Adjust to your taste!
- Oil: For frying, choose a neutral oil with a high smoke point, like vegetable or canola oil, to achieve that perfect fry.
For those looking to spice things up, consider adding cayenne pepper to the flour mixture for a kick! You can find the exact quantities for each ingredient at the bottom of the article, ready for printing. Let’s get cooking!
How to Make Pickle Fries
Now that we have our ingredients ready, let’s dive into the fun part: making those crispy Pickle Fries! Follow these simple steps, and you’ll be snacking in no time.
Step 1: Prepare the Pickles
First things first, we need to drain the pickles. Open the jar and pour out the brine. Then, take each pickle and pat them dry with paper towels. This step is crucial! Removing excess moisture helps the coating stick better and ensures a crispy finish when frying.
Step 2: Mix the Dry Ingredients
In a medium bowl, combine the all-purpose flour, cornstarch, salt, and pepper. Whisk them together until well blended. This mixture will create a light, crispy coating for our fried pickles. The cornstarch is your secret ingredient for that extra crunch!
Step 3: Beat the Eggs
In another bowl, crack the eggs and beat them until they’re smooth. This is where the magic happens! Beating the eggs well helps them adhere to the pickles, ensuring the coating sticks perfectly. You want a nice, even layer for that delicious crunch.
Step 4: Prepare the Breadcrumbs
Now, let’s talk breadcrumbs. Place them in a shallow dish. Fresh breadcrumbs are key here! They create a light, airy texture that makes your Pickle Fries irresistible. If you only have store-bought, that’s okay too—just make sure they’re not too fine.
Step 5: Coat the Pickles
It’s time to coat those pickles! Take each pickle and dip it into the flour mixture first, making sure it’s fully covered. Then, dip it into the beaten eggs, allowing any excess to drip off. Finally, roll it in the breadcrumbs until it’s completely coated. Repeat this for all the pickles, and set them aside on a plate.
Step 6: Heat the Oil
In a deep pan, heat the oil over medium heat. You want it hot enough for frying, around 350°F (175°C). To test if it’s ready, drop a small piece of bread into the oil. If it sizzles and bubbles, you’re good to go! This step is essential for achieving that perfect crunch.
Step 7: Fry the Pickles
Carefully add the coated pickles to the hot oil in batches. Fry them for about 3-4 minutes, turning occasionally until they’re golden brown and crispy. Keep an eye on them; you don’t want to burn those beauties! Once they’re done, use a slotted spoon to remove them from the oil.
Step 8: Drain and Serve
Place the fried pickles on a plate lined with paper towels to drain any excess oil. This helps keep them crispy! Serve them hot with your favorite dipping sauce, and watch everyone dive in. Trust me, these crispy pickles will be a hit!
Tips for Success
- Make sure to dry the pickles thoroughly for a better coating.
- Use fresh breadcrumbs for that irresistible crunch.
- Don’t overcrowd the pan while frying; it can lower the oil temperature.
- Experiment with different seasonings in the flour for unique flavors.
- For a healthier option, try baking the coated pickles instead of frying.
Equipment Needed
- Deep pan: A heavy-bottomed pot works well if you don’t have a deep fryer.
- Slotted spoon: Use a regular spoon if you don’t have one; just be careful when removing the pickles.
- Mixing bowls: Any bowls will do, but larger ones make mixing easier.
- Paper towels: Essential for draining excess oil; you can use a clean kitchen towel in a pinch.
Variations of Pickle Fries
- Spicy Pickle Fries: Add cayenne pepper or hot sauce to the flour mixture for a fiery kick that spice lovers will adore.
- Cheesy Pickle Fries: Mix grated Parmesan or cheddar cheese into the breadcrumbs for a cheesy twist that adds flavor and richness.
- Gluten-Free Pickle Fries: Substitute all-purpose flour with a gluten-free flour blend and use gluten-free breadcrumbs for a safe option.
- Herbed Pickle Fries: Incorporate dried herbs like dill, oregano, or garlic powder into the flour mixture for an aromatic touch.
- Baked Pickle Fries: For a healthier version, spray the coated pickles with cooking oil and bake them at 425°F (220°C) until crispy, about 15-20 minutes.
Serving Suggestions for Pickle Fries
- Pair your Pickle Fries with a zesty ranch or spicy sriracha dipping sauce for an extra flavor boost.
- Serve alongside a fresh garden salad for a delightful contrast of textures.
- For drinks, try a crisp lager or a refreshing iced tea to complement the tangy pickles.
- Garnish with fresh herbs like dill or parsley for a pop of color and flavor.
FAQs about Pickle Fries
Got questions about these delicious Pickle Fries? I’ve got you covered! Here are some common queries that might pop up as you embark on this crispy adventure.
Can I bake Pickle Fries instead of frying them?
Absolutely! For a healthier option, you can bake your fried pickles. Just spray them with cooking oil and bake at 425°F (220°C) for about 15-20 minutes until crispy.
What dipping sauces go well with Pickle Fries?
These crispy delights pair wonderfully with ranch dressing, spicy sriracha, or even a tangy garlic aioli. The options are endless!
Can I use different types of pickles?
Yes! Feel free to experiment with dill, bread-and-butter, or even spicy pickles. Each type will give your Pickle Fries a unique flavor twist.
How do I store leftover Pickle Fries?
Store any leftovers in an airtight container in the fridge. To reheat, pop them in the oven for a few minutes to regain their crispiness.
Can I make these Pickle Fries ahead of time?
While they’re best fresh, you can prepare the coated pickles ahead of time and store them in the fridge. Just fry them right before serving for that perfect crunch!
Final Thoughts
Making Pickle Fries is more than just cooking; it’s about creating joyful moments in the kitchen. The delightful crunch and tangy flavor bring smiles to my family’s faces, and I know they will do the same for yours. Whether it’s a quick snack after a long day or a fun appetizer for friends, these crispy treats are sure to impress. Plus, the ease of preparation means you can whip them up anytime. So, gather your ingredients, roll up your sleeves, and let the magic of fried pickles transform your next meal into a memorable experience!
Print
Pickle Fries: Discover the Crispy Sensation Today!
- Total Time: 25 minutes
- Yield: 4 servings
- Diet: Vegetarian
Description
Pickle Fries are a delicious and crispy snack made from pickles that are battered and fried to perfection.
Ingredients
- Pickles – 1 jar
- All-purpose flour – 1 cup
- Cornstarch – 1/2 cup
- Eggs – 2
- Breadcrumbs – 1 cup
- Salt – to taste
- Pepper – to taste
- Oil – for frying
Instructions
- Drain the pickles and pat them dry with paper towels.
- In a bowl, mix the flour, cornstarch, salt, and pepper.
- In another bowl, beat the eggs.
- In a third bowl, place the breadcrumbs.
- Dip each pickle in the flour mixture, then in the eggs, and finally coat with breadcrumbs.
- Heat oil in a deep pan over medium heat.
- Fry the coated pickles until golden brown and crispy, about 3-4 minutes.
- Remove from oil and drain on paper towels.
- Serve hot with your favorite dipping sauce.
Notes
- For a spicier version, add cayenne pepper to the flour mixture.
- Ensure the oil is hot enough before frying to achieve a crispy texture.
- These can also be baked for a healthier option.
- Prep Time: 15 minutes
- Cook Time: 10 minutes
- Category: Snack
- Method: Frying
- Cuisine: American
Nutrition
- Serving Size: 1 serving
- Calories: 250
- Sugar: 2g
- Sodium: 800mg
- Fat: 15g
- Saturated Fat: 2g
- Unsaturated Fat: 10g
- Trans Fat: 0g
- Carbohydrates: 25g
- Fiber: 1g
- Protein: 5g
- Cholesterol: 70mg
Keywords: Pickle Fries, Crispy Pickles, Fried Pickles, Snack Recipe